Adding User Accounts
Upgrading Your Account
The first step in adding accounts is ensuring that your account is able to add them. From the dashboard (homepage), click on “Setup” in the upper right hand corner of the screen. This takes you to the setup page. Look for a line of text in the middle of the page that says “Your account allows X user(s).” (X will be a number). If it’s “1 user”, then you need to send an email requesting that your account be upgraded. (Cick the “need more” text.) Each additional user costs extra, and is added manually, so before you can setup users make sure your account allows for more users than you currently have.
How to add a User
Once you have the ability to add a user, go to the setup screen and click the button that says “Add User”. Fill out the fields in the pop-up screen and click the “add new user” button”. You will get a message that tells you the account was created (or if it wasn’t, it will tell you why), and from here we need to make sure their preferences are set up correctly.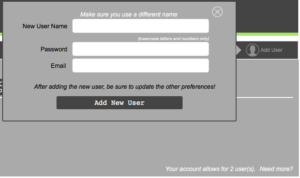
Setting Their Contact and Callback Notifications Preferences
Next to the username of the account you just created, click on the “contact info” and ensure that everything looks good. 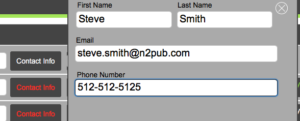 Next, click the “callback notifications” button and select which emailed callback notifications the user wants. “Only Mine” is the default, which emails the user only for callbacks that they created. “All” sends an email for all callbacks. (This is helpful if you have an appointment setter or other staff that doesn’t work on certain days.) “None” is for staff that won’t be making any callbacks.
Setting Their Access Privileges
If the user is sales focused, there are no special access privileges to set. But if the user is an appointment setter or data entry person, then you must assign them that role.
For data entry staff, click on the “data entry mode” button and when you see the question “Restrict Access to Data Entry Only”, select “yes”. This will ensure when the user logs into the database they go to the data entry page (and they can’t go anywhere else).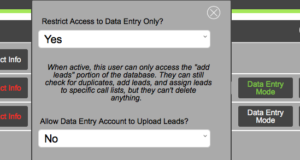
The only other option is whether or not to allow this data entry account to upload leads. “Yes” will turn that feature on and allow them to upload excel docs directly into the database. Because there are a number of potential and irreversible issues that could come up, I recommend having this selection be “no” unless you trust this person and their ability to use this software. (As an example, if they uploaded leads from a spreadsheet different than the template, they would add potentially hundreds of leads where info would be in the wrong field. The only way to fix this would be to manually find and delete the affected leads.)
Account Setters have a few options to select in order for their account to work properly. Click on the “Appointment Setter Options” button next to their username and answer “yes” to the question “Is this user an appointment setter?” to enable the account.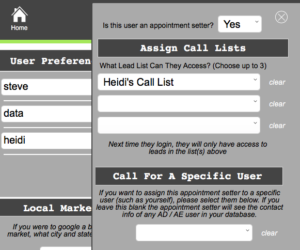
From there the only other option is to assign what call list(s) they can use. Appointment setters can access up to 3 unique call lists, so make sure that your call lists are set up beforehand so you can assign them to the appointment setter.
There are fields for appointment setters that sales-based accounts must fill out, but this is covered in the “Adding and Appointment Setter” section.
Adding and Managing Staff
Adding and Managing Staff
Setup a Data Entry Specialist
Ensure their account is setup and ready
If you haven’t setup the data entry user, please reference the “Adding User Accounts” section above. Now is a good time to double-check that everything is setup in the “setup” page.
Data Entry View Walkthrough
When a data entry user logs in the view is almost exactly the same as the “add leads” page. The obvious difference is that there are 3 numbers on the top of the page to track progress – leads added today, this week, and in the last 30 days.
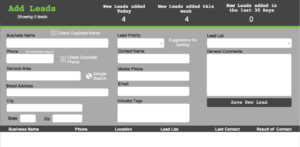 To read up on the process of adding leads, click here to go to that section of the manual.
Adding an Appointment Setter
Ensure the appointment setter account is setup and ready
If you haven’t setup a new user and assigned them as an appointment setter, please reference the “Adding User Accounts” section. Now is a good time to double-check that everything is setup in the “setup” page.
Enter AD / AE Appointment Details
The nature of an appointment setter is to call for an AD (or another salesperson, such as an AE.) Because of this, there are some details that need to be filled out for any account that the appointment setter will be calling for.
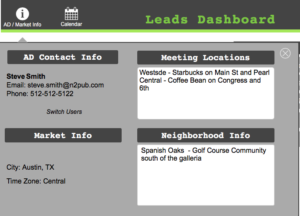
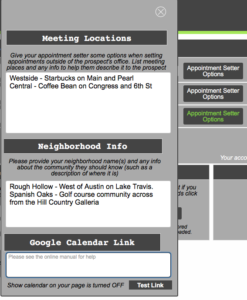
From the “Setup” page, click on the “appointment setter options” button next to the AD / AE that the appointment setter will be calling for. There are three sections to fill out:
- Meeting Locations – These are options for meeting places when the prospect doesn’t have an office location available. A brief description of its location and any other pertinent details are advised. (The idea is to make sure the appointment setter feels confident in setting the meeting, and having a good option helps.)
- Neighborhood Info – A brief description of the neighborhood(s) the appointment setter will be mentioning is helpful in having them appear knowledgeable when making calls.
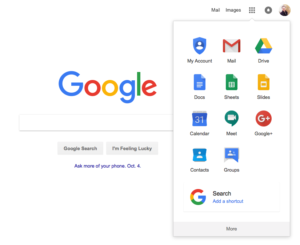
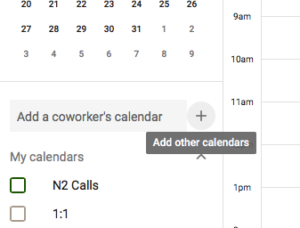
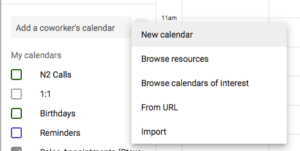
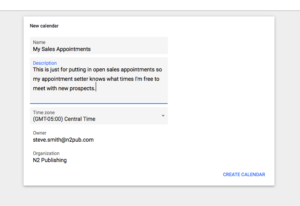
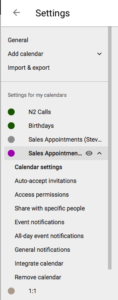
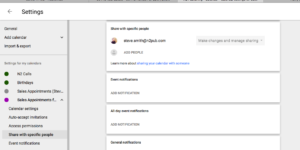
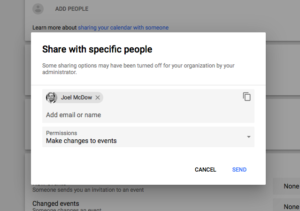
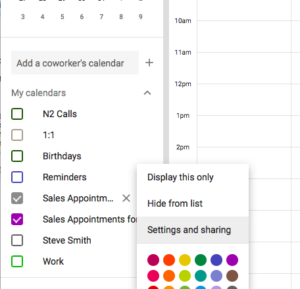
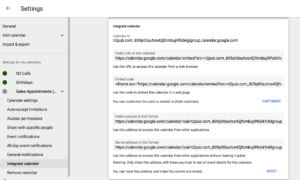
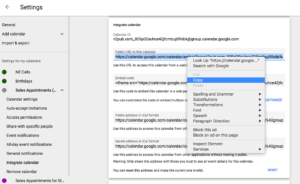
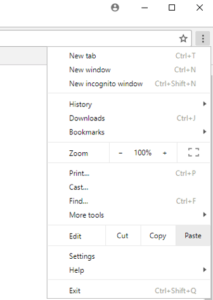
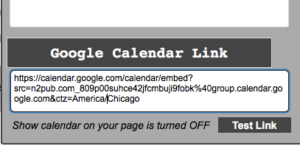
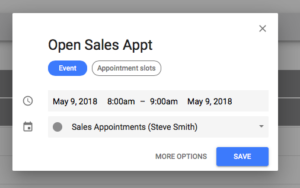
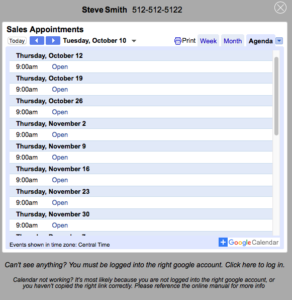
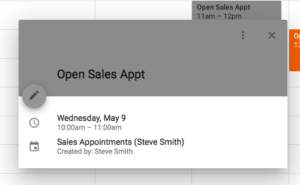
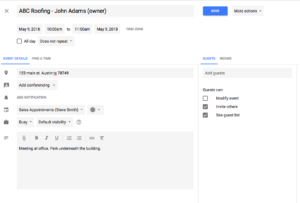
- Google Calendar Link – More detail is below on how to generate a google calendar link, but the purpose of this is to give the appointment setter a list of “open” appointment slots on your calendar.
Tracking Staff Performance
A question most business owners ask after outsourcing parts of their business is, “How do I ensure that I’m supporting my team without micromanaging them?” After all, business owners hire people to free up time, but without proper oversight and management, the very people we brought on to save us time ends up costing us more than if we’d done it ourselves. Often the reason for this is due to poor management and training. Without the right tools, it’s tough to know how to coach your team. The primary purpose of this software is to help increase your efficiency in making calls, but a secondary purpose for this software is to help you properly manage your staff through a few key metrics.
Appointment Setter Numbers
Appointments Setters have one job – set appointments. And while their overall efficiency is due to a number of variables outside the scope of this software (quality of leads, presentation of the script, properly overcoming objections, etc), there are some variables that are important and trackable. Here’s how to look at them.
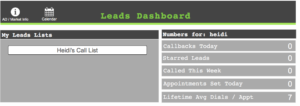
From the dashboard (homepage) look at the numbers section. Next to your username is “change” button that allows you to view the numbers for another team member. Click on the button, select the user, and press “Go”. 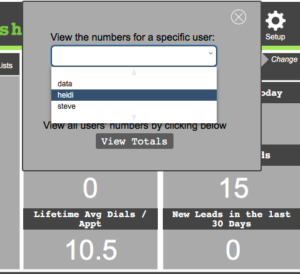 You’ll notice 3 key numbers:
- How many calls they have made (for the day, week, or in the last month)
- What their call ratio is
- How many appointments they have set
Call ratio is the most important number of the three, but again, a lot goes into that number. To further analyze the appointment setter’s efficiency, one suggestion is to dive into the number of calls they made. Click on the number below the “Called this Week (or day or last 30 days), and from the list screen click on “Last Contact” near the upper right hand of the screen. This put the calls in chronological order. Click on the top lead, and note the date and time. Now click the “next” button to go the next call. Note the time. Do this a few times and you will get a sense of how long they are taking between calls. An appointment setter who is efficient should average less than 3 minutes between calls. (20 calls / hour) An average appointment setter will be 4 minutes between calls. (15 calls / hour). Anything less and the appointment setter is either spending too much time on the phone or is spending too much time between calls. This is helpful information!
Another way to evaluate appointment setter performance is to note the responses for each call. Lots of voicemails or “no answers”? That’s an issue with the quality of leads. If they are getting a lot of “call back later” responses they are either having trouble getting through a gatekeeper, or they aren’t being assertive enough in asking for the appointment. These insights allow you to properly coach your team just by quickly glancing at their recent performance.
Data Entry Numbers
Data entry roles have a single focus – add good leads. There are two factors for measuring success in their role – how many leads they are adding, and how good are these leads.
The first criteria for success – how many leads are being added – is easy to measure. Just change the view to see your data entry person’s numbers (the same process as the appointment setter, described above) and look at how many leads have been added. Easy.
The next criteria – how good are the leads – is a bit more subjective. Here’s a recommendation. Click on the number below the “New Leads in last 30 days” box to bring up their leads. From the list view just take a look at the business names. Do they sound like good leads? Now dive into the details page of a lead by clicking on it and note the lead source / rank score. Are the numbers consistently low or high? Low numbers (1-4) mean higher priority / rank. High numbers (5-7) are low priority leads (usually indicating that the business is not necessary working in the neighborhood, close the community, or a quality business for its industry). Too many low ranking leads mean more training should be given on how to source better leads. Left unchecked, the data entry person is just making the caller’s job harder, and potentially making your time less efficient by putting you in front of prospects that aren’t a good fit. It’s important to keep an eye on new leads, since it’s where your business is choosing to focus its sales efforts.
